Sunday, December 29, 2013

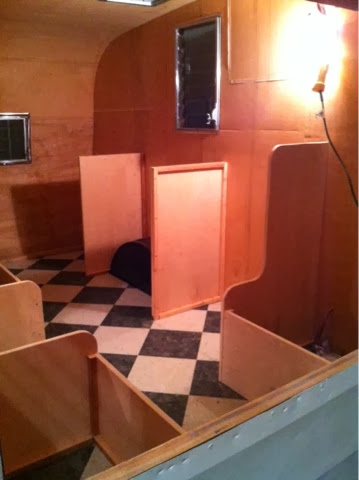
Beds and kitchenet going in

8yr old directing the work. 
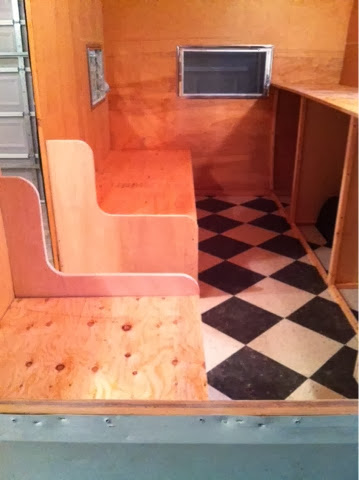
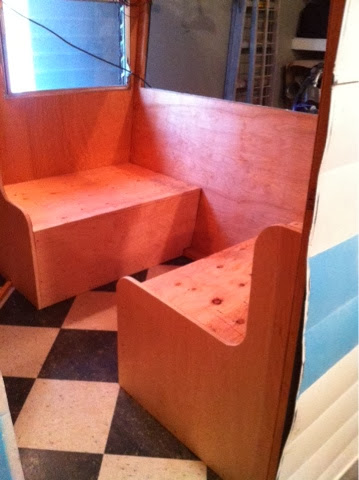
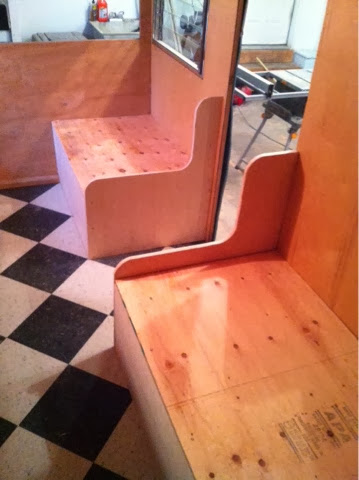
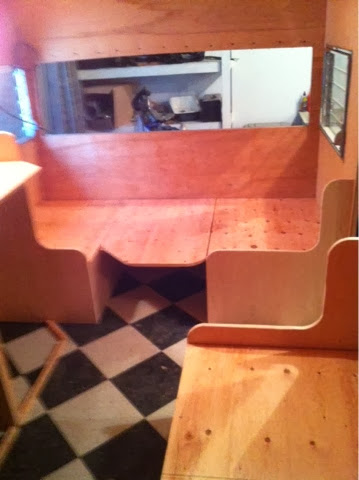
Front benches/bed. 
The beginnings of the gaucho bench/bed. 

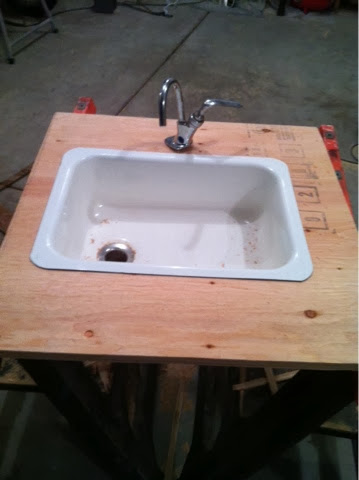
Beginning of the kitchenet. 
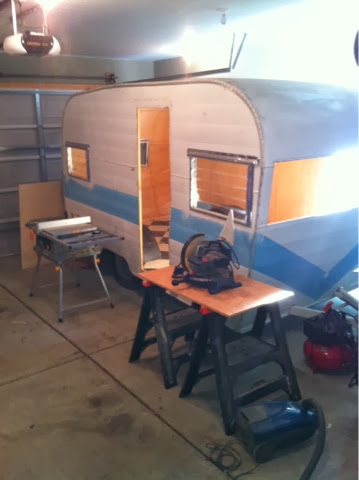
Kiss your garage goodbye. 
Taking the counter all the way to the back wall for added counter space and a more open feel. 
Beds taking shape.
Future table/ front bed
Mocking up the sink.
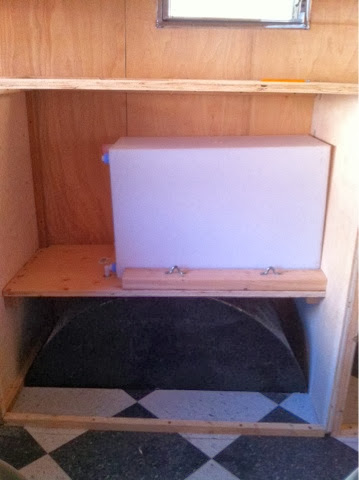
New 17 gallon poly tank replaces the much smaller metal tank. 
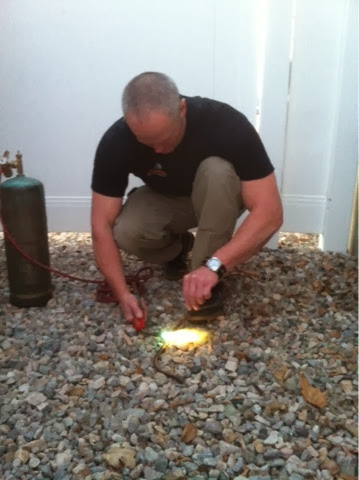
Brazing the water line so we can use the old pump facet with the new tank. 
Plumbing in the fill, drain, facet, and vent.
Using the cool old water fill hardware. Basin has been polished and lid shows the difference. 
Origin wire that kept the lid on was gone so we made our own. Took a few tries to get it right.  Replaced the bead chain that keeps the lid from wandering of too. 
Cutting out the stove. 
Building the alder braces to hold the bunk bed and the table top in the front bed. 
32" bunk bed in the rear
Braces to hold the table up as part of the bed in front. 

Sunday, December 22, 2013

Planning for the interior

Taped out the floor plan. 
Including the beds, cabinets and Kitchenet. 
Deciding which accessories go back in and which don't. Doubtful we'll ever use a stove. 
Looking at replacing with a simple lighter drop in cook top. We can make it vintage looking and increase usable counter space. 
Definitely reusing the old sink. Lots of scrubbing needed. 
Turned out looking great and excited to find brand new drain hardware at Home Depot for $12 that matched the old corroded one perfectly. 
Can't wait to get this sink put in. 
Deciding between two different layouts. Option 1 is similar to the original layout and would give a 38 x 75 inch bed in from and in the back with a closet by the door. 
Option 2 would be turning the bed to the side and making it a bench that would expand out to a 54 x 75 bed in back and the same 38 x 75 bed in front. 
Both options would have a kids bunk bed in the back that would be 38 x 75 when laid out but could fold up to 19 x 75 for head space when not being used. 

The kitchen will be similar in both options. Option 1 kitchenet has the dementions of 24 deep x 36 high x 60 wide. 

Option 2 would measure 20 deep x 36 high x 70 wide. 

The Floor Goes Down


Leveling the floor
Cool day in the fall made for slow drying. 
Bribed a friend from work to help. Sushi dinner is a small price to pay. 
Obviously I did most the work...I re-cut some of the tiles half a dozen times to get the up to "Jake Standard". 
Rolling it out. 
All done. Looks great. 

Sunday, March 3, 2013

Vent

With all the windows and the top vent the surface aluminum is cleaned and pained to allow for a clean seal and to make it easier to plastic off the vent and windows when it comes paint time and still make it


The weather seal goes on same as with the j channel and windows
The old vent was so damaged that a new style one is put in its place.  We stuck with the metal one to keep with the vintage feel. 

 look clean.

Pain staking windows

The major set back was the realization that polishing every window and trim piece of the trailer was pure torture.  Going threw several buffers and hand grinder(some caught on fire) we decided to make a bench polisher out of a 1 HP 110v motor that we fastened some polishing wheels to and got to work.  The new polisher works well but the aluminum on the windows has a form of calcium deposit on them almost like white rust.  The process most often entails disassembling every window and sanding the calcium off with 600 to 1200 grit wet sand paper.  Only then does the polishing begin.


Hand drilling all the old rusty rivets


Plastic helps contain some of the black mess that comes off during the polishing


Old fire fighting gloves make the high heat transmitted through the aluminum bearable and are more forgiving when a small piece of metal gets ripped out of your hand at 500 mph


I feel like a coal miner after each session at the polisher.  If you can tolerate it a face shield, respiratory mask, safety glasses ect, might safe you some misery and clean up.


The trim that goes over the windows is also polished up
 Each window start to finish can take 3-4 hrs on average to polish.  Reassembling them is a snap and the new aluminum rivets combined with clean glass and new stainless screws make the windows look awesome.

Each window has a trim border on on the inside that polishes up nicely


Trim

The J-channel goes back on


100,000,000 stainless screws or so later and the trim is on. 


Some body work left to do before paint goes on


Back in business


After sitting wrapped up in tarps for all of 2011 at our old house we moved into a new home where the trailer sat wrapped up for most of 2012.  Work resumed in the fall of 2012 when a wind storm ripped the tarps to shreds.  This made us face the fact that we either winterize it again or put it in the garage and hope that having to wake up to a snow covered truck outside would motivate us to get the trailer done and out of the garage.